Tuesday, July 1, 2025

CHRISTMAS IN JULY

It's a very hot day today on this 1st day of July - what better thing to do than to hide myself away in my office/craft room and make a Christmas card? My inspiration today was over at Peace on Earth Christmas Challenge #90, where I was interested in the tall green and turquoise trees on the Christmas shelf at the right top quadrant. 


I had this partially made piece of a card from a couple of years ago - see the original here. I trimmed it down from a slimline size to fit on a standard A2 card base, matted it with a slightly larger white die cut rectangle, and added 3 miniature trees and a shooting star from Alexandra Renke's "Winter Village" die set. The trees and star were die cut from glitter cardstock.

Saturday, June 28, 2025

A BEAUTIFUL DAY IN THE NEIGHBORHOOD

And it is a beautiful day in my neighborhood as we finish out the month of June. It's been a minute since I posted any new work, so with today's post I'm hoping to get back into some sort of rhythm of card making again. Since I work a couple of months ahead on my duties as a Two Old Bats Halloween Challenge design team member, the last time I posted a non-Halloween card was actually May 18th! Hopefully today's post will get me back on track. 

I've been wanting to join the challenge over at Color Throwdown #835 in which we are challenged to use only the colors yellow, green, and turquoise + neutrals. I thought it would be fun to be literal with the photo and create my own row of Victorian houses.


These little houses are from PTI's "Winter Hills" stamp set. I stamped them with black ink on colored papers, fussy-cut them, and glued them over the top of a pre-stamped row of trees and gray-matted rectangular die. The sentiment is from My Favorite Things "Right at Home". 

                              Color Throwdown: Color Throwdown Countdown #835


Sunday, June 15, 2025

JUNE MID-MONTH REMINDER - TWO OLD BATS HALLOWEEN CHALLENGE

Back again with our mid-month reminder at Two Old Bats Halloween Challenge!

This time around I used up the scraps of a page in the 12x12 Halloween stack that I made a card from at the first of the month. The main things in our mood board brought forward as inspiration are bats, cat, and witches.

I started by die cutting a circle from the printed orange paper, laid it over a rectangle of purple cardstock, and trimmed out the two layers with a stitched die cut rectangular panel. I black heat embossed the sentiment and the cat and matted it with the last bit of printed orange cardstock. I glued it to the face of a black card base and added the die cut Whimsy bats and witches. I used the same purple two-sided card stock for a coordinated envelope.

You still have 2 weeks to get your Halloween projects completed and shared with us:

Two Old Bats Halloween Challenge: June 2025 Mid Month Reminder


Are you getting a bit tired of seeing these same cute Whimsy dies that the ladies have been trying to give away if we get at least 25 projects? I know I am. Well, let's get with it!


Sunday, June 1, 2025

JUNE TWO OLD BATS HALLOWEEN CHALLENGE

WOW! The 6th month of 2025 has arrived, along with a new June mood board with some very cute images for your inspiration.

Two Old Bats Halloween Challenge: June 2025 Anything Goes Halloween


You know how you can start a card with an idea and then end up with something completely different? That's what happened here - I was working on a card influenced by the top right quadrant of this month's mood board and the only thing that survived of the original idea was the colors!


In my final iteration, I started with a 12x12 printed sheet from  an American Crafts stack called "Boo Crew". I cut the sheet up, using only part of the overall printed image of a haunted house and nearby trees. I trimmed out a 5" square with the moon and attached it to a 5-1/2" side-folded card base and then overlaid the trees and pumpkins with black dimensional foam, adding more fussy-cut pumpkins and bats. The final addition was a die-cut sentiment from LDRS Creative (#8321 "Large Word Halloween") cut from the darkest orange portion of the sheet, and a custom envelope from a coordinating two-sided cardstock in the same stack. 

The ladies are still trying to award these cute dies from Whimsy Stamps if we can get 25 or more entries:


Sunday, May 18, 2025

HOT STUFF

I've been contemplating the current Inkspirational Challenge - Designer's Choice - HOT and thinking to tackle the idea. Today was a perfect day to do that, because it's a bit too cool and wet to work out in the garden.

I have this really great rubber sunburst image from the vaults at Hero Arts that I've used once since I bought it and it seemed like the perfect place to start. I also had a postage die out on my desk and I decided to combine the two things together in some way. Then the idea hit me to add a '16' and make it into a card for my oldest granddaughter who will be turning 16 in a few months. 


I started with a white card base and a small scrap of the same stock. My postage stamp die cuts out a rectangle at the same time as the outline, making 2 pieces. I stamped the image on the scrap, colored it with my Copic markers, and stamped the tiny sentiment from Hero Arts #CM351. (The number 16 is from a very old sheet of Letraset transfer lettering - and when I say old, I really mean it! I have a bunch of these sheets from my graphic design days of 50 years ago.) After coloring the image and adding the sentiment, I die cut it with my postage die and discarded the outline of the die. I die cut a yellow rectangular panel, matted it with red-orange cardstock and added a PTI flourish with orange ink because I thought it was looking a bit bare. I also wanted to add an embellishment so decided to punch a rectangular hole at the top and thread some light blue twine through it. The final step was to cut out an opening on the back of the red-orange panel to reveal the colored image that I had glued to the face of the white card and attach it with some dimensional foam.

Here's a close-up of the image:


Inkspirational: Inkspirational Challenge #341 - Designer's Choice - HOT


Added 5/31/2025:


Thursday, May 15, 2025

HOCUS POCUS

It's mid-May here at Two Old Bats and this is our reminder that you still have a couple of weeks to join in with my silliness.

You put your right foot in, you put your right foot out, you put your right foot in and you shake it all about... You do the Hocus Pocus and you turn yourself around. That's what it's all about!

I know those aren't the correct lyrics, but when I started putting this card together, this is what I thought it looked like these guys were doing - either that or spelling out YMCA! Since I decided to use a new word die - Hocus Pocus - I've taken the liberty to change the lyrics to meet my silly mood.


I started this card with a horizontal A2 black card base. I added a rectangular bright pink printed cardstock and layered the printed skeleton paper over the top of that. I added the die cut LDRS Creative "Large Word Halloween" #8321 that I had cut from the pink cardstock and backed it with the black. The final step was to add a couple of googley eyes, a side-tied  bow of twine, and a coordinating envelope and treat box.


We haven't given away the cute Whimsy Stamps dies, so those are still available if we hit 25 or more entries - let's get with it!


Since this card features a large die cut sentiment, I'm going to share it with the others at the Word Power May Challenge:


Wednesday, May 14, 2025

RED, WHITE, AND BLUE

Usually about this time in the year I start thinking about 4th of July cards. The last couple of years I've found myself too busy between trips out of town and all of the summer activities to discipline myself to make 30 cards. So I'm not really sure I'll be carrying through on this - and to be completely honest, I don't think we Americans have much to celebrate this year. I'll just leave it at that.

I was inspired by a couple of challenges - Color Throwdown#832 and CAS Colours & Sketches #560.


I started with a white card base and a stitched rectangular top panel. I stamped an old PTI fireworks image with light blue ink and over-stamped the sentiment from Hero Greetings #CM495 in dark blue. I cut our 4 1-1/2" squares from blue star and red & white stripe paper and mounted them above the sentiment. I matted the stitched panel with dark blue card stock, added a silver sequin star and pale blue gem stone, and made a coordinating envelope.

These are the challenges that inspired me:

Color Throwdown: Color Throwdown Challenge #832


CAS Colours & Sketches: Challenge #560 - sketch


Saturday, May 3, 2025

RUDE BIRTHDAY WISHES

"R is for Rude" - that's what challenge #262 is this month for The Sisterhood of Snarky Stampers where I am May's reigning queen! You can see that Edna stands ready to pass judgement on the level of rudeness of all of our cards:

Sisterhood of Snarky Stampers: SoSS #262 - R is for Rude


This card started with a top-folded white card base onto which I stamped the first Tim Holtz Snarky Cat in the upper left corner in black ink. Then I masked him off and stenciled the background with PTI "Stormy Sea" dye ink, using a Tim Holtz stencil, and colored him. Then I stamped, colored, and fussy-cut the remaining three cats. The one in the center was glued directly to the card face, along with the sentiment ( Unity Stamp Company "Purr-ty Cats"). The final step was to add the last two cats at each side with a bit of dimensional foam. I also prepared a custom envelope and lined it with a piece of white paper that I stenciled using the same Tim Holtz stencil.


My son will be getting this card early next month on the event of his 51st birthday! AND because this card features both stencilling and birthday wishes, I'm sharing it with the gang over at Seize the Birthday (my spellcheck doesn't like that spelling of stencilling, but I checked the dictionary and it's acceptable).

Seize the Birthday: Seize the Birthday # 304


Thursday, May 1, 2025

MAY TWO OLD BATS HALLOWEEN CHALLENGE

May has arrived here in Blogland and our favorite ghoul friends have posted a new inspiration board that is sure to interest you! Here we are back at a pink theme, but this time I came armed! 


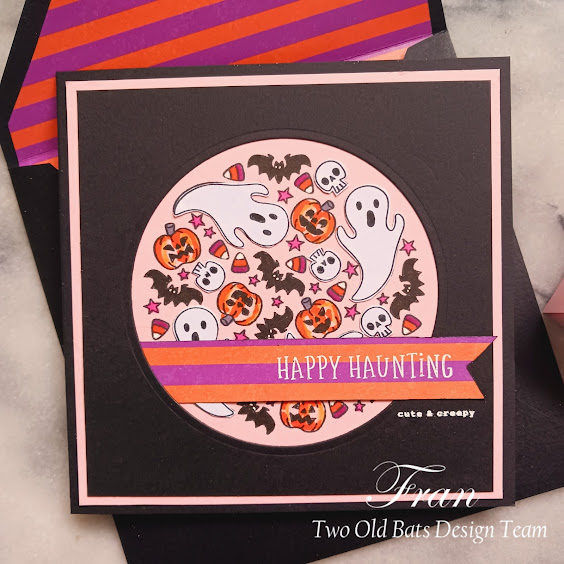
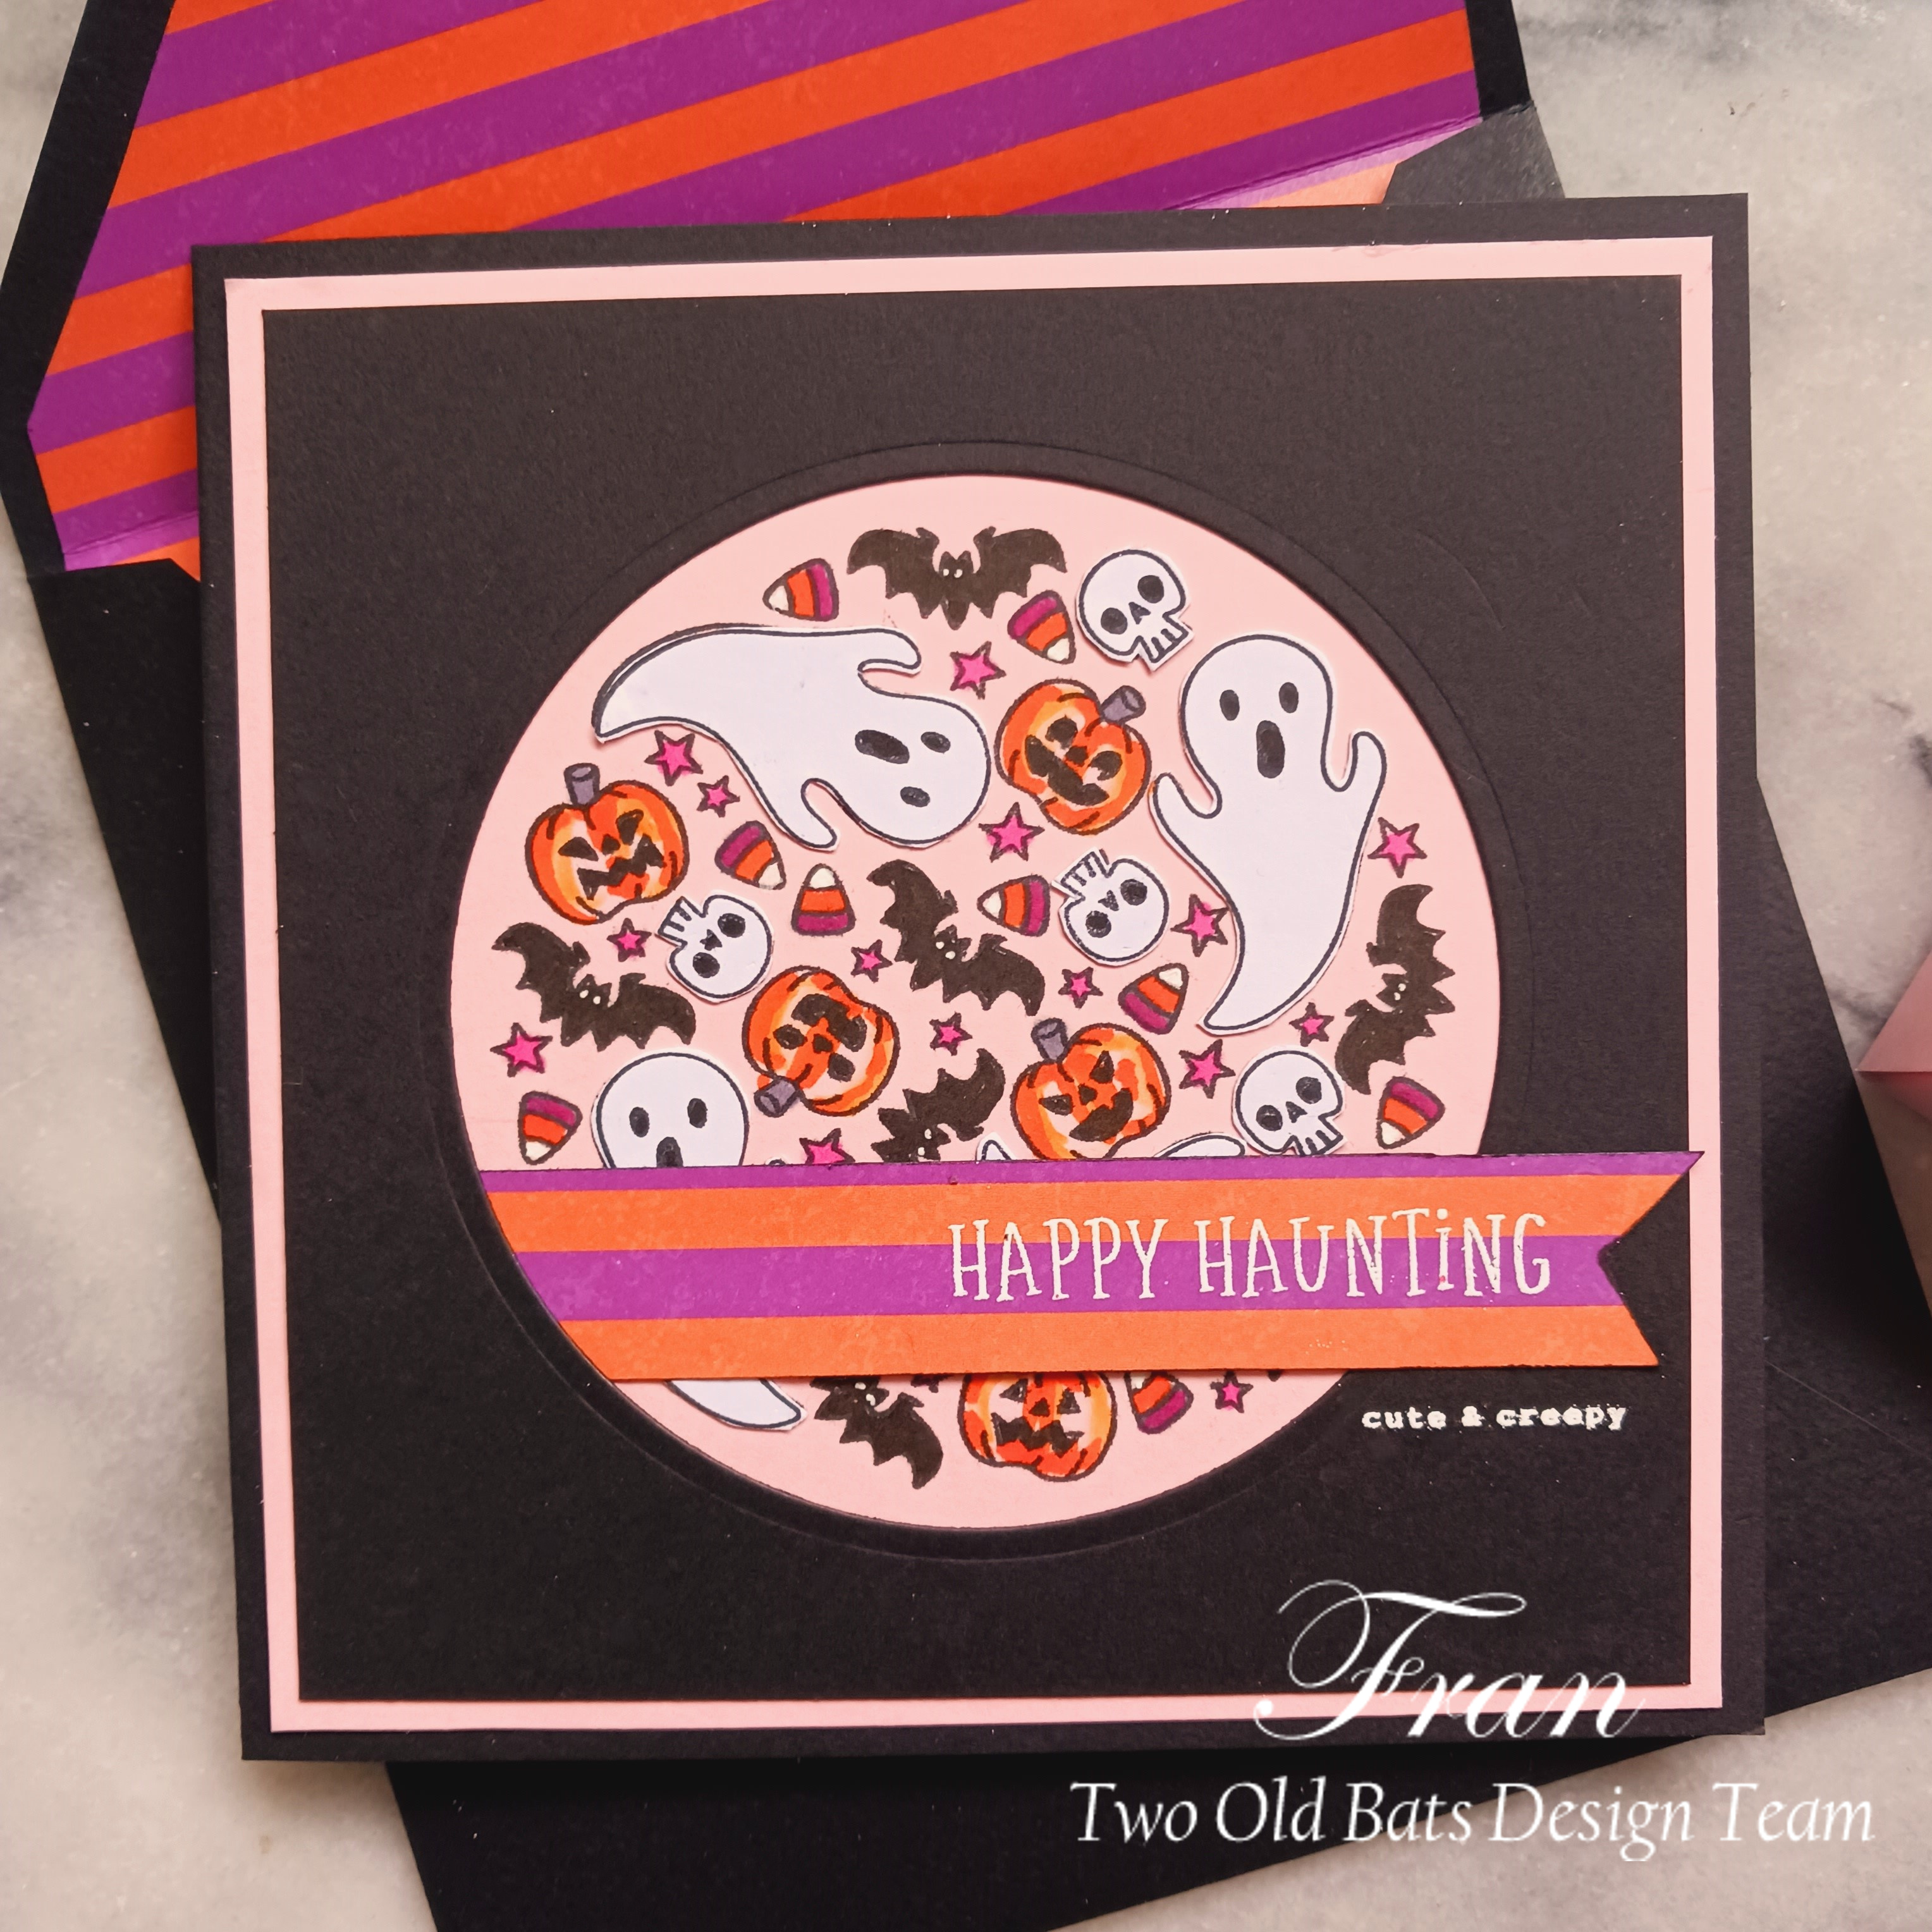
I was drawn to the cupcakes in the lower right quadrant - especially since I have a brand new-to-me stamp set from Newton's Nook Designs (#NN2008S07 "Spooky Roundabout") that I got to play with. I used a black 5-1/2" square card as my base. I trimmed a piece of pink card stock to 5-1/4" square and stamped the "roundabout" image on it with black ink. I stamped the same image a second time on white heavy paper and fussy cut all of the ghosts and skeletons from it and glued them to the pick card, The rest of the images in the circle were colored with Copic markers. The final layer of the card is a black 5" square with a circle die cut from the center and laid over the pink square. The sentiment was white heat embossed onto a strip of orange and magenta striped print paper and inserted into the side of the die-cut circle. I used a bit of white gel pen for bats' eyes and the tips of the candy corn. The "cute & creepy" was a white heat embossed afterthought.

I made a custom square envelope with black heavy paper and lined it with the same orange and magenta stripe I used for the sentiment.

Today's treat box is  brought to you by the color pink! The ghost is a sticker that I adhered to a scrap of cardstock and fussy cut. I die cut a couple of circles (black and the orange/magenta), attached all to the box plus a couple of die cut bats, and tied off with magenta and orange twine from my stash.

Additionally, over at Tic-Tac-Toe Challenge, one of the diagonal choices from the Featured Designer Jeanie is "Die Cut/Patterned Paper/Treat Holder". My little Ghirardelli Halloween treat box certainly fits within that with the die-cut bats and circles - one with patterned paper.


ON A PERSONAL NOTE: Speaking of pink, how about this Oklahoma Red Bud tree in my front yard? As I've often commented about here on my blog, we tore out a lot of grass in our front yard and replaced it with a smaller patch and native pollinator plants. It was finished last summer and this year the grasses and shrubs from last year are starting to bloom. This is the second year of our red bud tree and it's been glorious! We also have purple sage and paprika-colored yarrow just about to open up - can't wait to see it all in bloom at once!


Sunday, April 27, 2025

UMBRELLA

I've been thinking about joining my friends over at the Simply Clean & Simple April Challenge all month and finally got off my duff this morning to slip through at the very end of the month before the challenge ends.

The April optional theme is "Umbrella", and the first thing that came to mind was cocktail umbrellas - what does that say about how my brain works?!

I started today's card with a pale pink side-folded card base and I wanted to use some heat embossing in a champagne tone to sort of match the purpose of the card. I found a scrap of iridescent rose-gold vellum to use for the mat of the pink top layer. I die cut a pink stitched rectangle and then die cut a Tim Holtz "Happy Hour" glass for a reverse image. I lined up the pink and rose-gold layers and heat embossed the sentiment and the edges of the rose-gold layer and glued them all together. Before gluing them, I added a flourish in champagne embossing. The umbrella (also Tim Holtz "Happy Hour") was die cut from bronze scraps and glued to the top layer before adding some tiny bronzy pearls. The photo is a bit of a disappointment in that it completely misses the iridescence of the rose-gold vellum behind the reverse die cut glass. 

I like some things about this card, and some things not so much. I think it bears another attempt - maybe as a shaker card in brighter colors. I like how the sentiment just happens to fit perfectly with the shape of the glass - I think it may have come from one of the inexpensive stamp sets by Park Lane that Joanne carries. June is a big birthday month in our family, so I think I may take another run at this idea.


Tuesday, April 15, 2025

APRIL MID-MONTH REMINDER - TWO OLD BATS HALLOWEEN CHALLENGE

Here's our mid-month reminder for the TOB Halloween April Challenge. If you've been planning to play along with us this month but just haven't had the time to get your project (card or anything Halloween) entered, you still have two weeks!


Inspired by the lower left quadrant of our mood board (see below), I used a witch and cauldron image  that I haven't used before - it's from Unity Stamps ("Toil and Trouble"). I've used other images and sentiments from the set, but not this one yet. I started with a rectangle of printed paper as a background and mounted a large orange and yellow moon over a white one that was already on the paper. I mounted it to an orange and yellow mat and glued all three layers to a black card base. Then I stamped the witch with black ink on a white scrap, and colored and fussy cut her. I stamped the sentiment and three Tim Holtz bats and attached the witch with dimensional foam.

I finished off with a custom envelope with cauldrons printed on one side. And here are this month's coordinating treat boxes:


And our cute Whimsy Stamps alien dies for the drawing if we get 25 or more entries in the challenge:


Wednesday, April 9, 2025

TIME OUT CHALLENGES


WHEEEEE! I get to be Guest Designer over at Time Out Challenges this next two weeks - I feel blessed! The new challenge is one of their "Pick 2" selections. You can see the choices on the badge here: 


This challenge is sponsored by Gina K. Designs and there's a wonderful prize for the winning card! Visit the challenge website to see what is being offered and to take a look at the Design Team's inspirational cards.

I decided on "water" and "spots", and challenged myself to create some water made from various scraps of papers printed with spots, in a CAS style.


I started with a stitched rectangle of navy/aqua spotted cardstock. Then I die cut the same rectangle in three other papers and die cut an upside-down scallop on each of these and glued all but the top layer together. On the top aqua layer I white heat embossed the sentiment and the school of fishes from Penny Black's "Birthday Fishes" stamp set. I attached the top layer with dimensional foam to give the final image a bit more interest. This glued rectangle then got attached to a slightly larger white die cut stitched rectangle, and this in turn was attached to a 5-1/2" square white card base. My final step was to add some spots to the fishes with a white gel pen where their eyes would be.

I found an aqua square envelope in my envelope stash and lined it with the navy/aqua printed paper.

I started second-guessing myself after I finished this card - I chose "spots", but used papers with "dots". I went to my dictionary to double-check if there is a difference between a spot and a dot. A dot is a round spot, so technically these are still spots. I suspect that "spots" might be a bit more randomly-placed than dots, but I'm sticking with what I did!

ON A PERSONAL NOTE: We were surrounded for a week by men painting the outside of our house, which was last done 30 years ago, I'm embarrassed to say! They finished up yesterday and I'm trying to get everything pulled back together. The garden is roaring back and I can hardly wait until the California poppies explode. By the looks of things, that should be soon. By this time next week the covered patio will be ready for use and I think we'll celebrate with friends and wine. I'll take some photos and show off the place!


Tuesday, April 1, 2025

APRIL TWO OLD BATS HALLOWEEN CHALLENGE

 Here's a brand new inspiration board for April, and it's full of orange, black, and yellow "witchy" images! And look at all of the moons!

Two Old Bats Halloween Challenge: April 2025 Anything Goes Halloween


My card for this beginning of the month challenge is a sort of composite of more than one of the quadrants presented by our challenge leaders.


I die cut circles from two coordinating  orange and yellow card stocks and inserted the yellower one into the orange one to make my moon - I'll see if I can use the additional orange circle on the next card! Then I cut a wide strip of orange and yellow diagonal striped card stock and glued both the moon panel and diagonal panel to a black square card base and added the strip of Graphic 45 "Fright Night" with black cats and sentiment. Then I added a Tim Holtz Halloween die-cut church and scraggly tree, positioning the church so that one of the black cats is peering at us through the church door. I die cut a picket fence from black cardstock from one of my village die sets and added two die-cut bats from Whimsey Stamps. The envelope is custom-made from coordinating card stock.


Here's my coordinating treat box built with black card stock, and I added die cut tags from the orange and yellow papers and a strip of Graphic 45 bats, die cut Tim Holtz cat, Whimsey die-cut bat, and black & white baker's twine. I'll make another box when we're at our mid-month reminder.
 
AND our Whimsy Stamps dies are back to haunt us until we get 25 or more entries in our challenge!